Initial Settings
Guide for configuring the system after installation, including customizing the user interface and product table
Initial Settings
After installing and activating the WhizManage plugin, you can customize the system according to your personal preferences. This guide will help you configure the interface to suit your needs.
Choosing a Theme
WhizManage allows you to choose between different themes for the user interface:
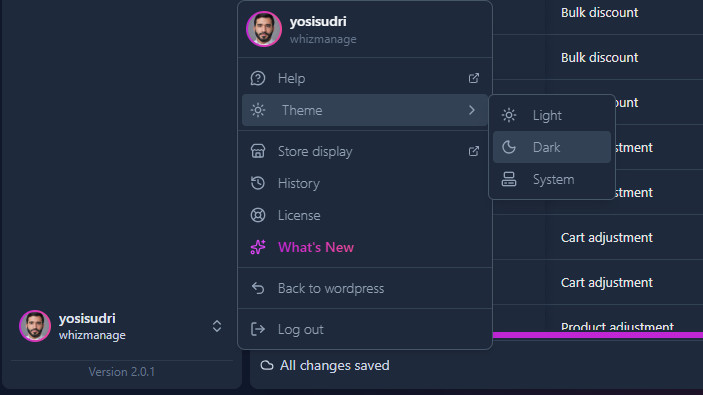
Changing the Theme
- Click on your user image in the top corner of the interface
- In the dropdown menu, select "Theme"
- Choose one of the following options:
- Light - interface with light colors
- Dark - interface with dark colors
- System - automatic adjustment according to your system settings
Tip:
The theme change takes effect immediately and is saved automatically - no need to click "Save".
Customizing the Product Table
The product table is the heart of the system and can be fully customized to suit your needs:
Customizing Table Columns
- Open the main product table
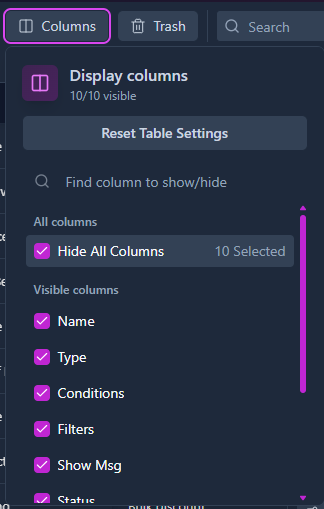
- Click the "+" (plus) button in the top corner of the table
- In the window that opens, you can:
- Check or uncheck columns to show/hide them
- Change the order of columns by dragging and dropping within the window
- Filter columns using the "Find column to show/hide" search field
- After making your desired changes, click "Save as default" to save the settings for future use
Important:
Clicking "Save as default" will save the current column configuration as your default setting. If you want to return to the original settings, you can click "Reset Table".
Changing Column Size and Order
In addition to the settings window, you can make further adjustments directly in the table:
- Change column width - drag the border between column headers to change the column width
- Change column order - drag the column header to the desired position
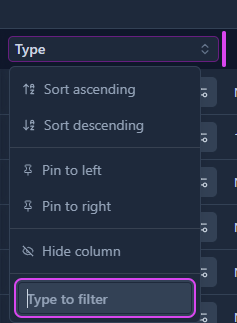
- Quick column hiding - click the small arrow next to the column header and select "Hide"
- Table sorting - click on a column header to sort by that column, or click the small arrow and select "Asc" (ascending) or "Desc" (descending)
Tip:
These changes are automatically saved for the current user. However, to save the changes permanently as default, remember to click the "Save as default" button in the column settings window.
Setting Rows Per Page
You can adjust the number of products displayed on each page of the table:
- At the bottom of the table, find the rows per page selector
- Choose the desired number from the dropdown list (typically options are 10, 25, 50, 100)
- The selection is saved automatically and will apply to the table immediately

Testing and Further Customization
After completing the initial settings, it's recommended to perform a brief test of the system:
System Testing
- Verify that all products are properly displayed in the table
- Try editing a simple product to test the editing functionality
- Try creating a new product (available in all versions)
- Test the filtering and search functionality in the table
Note:
In the basic (free) version, some features are limited. Features available only in Pro versions include: advanced variation editing, bulk product editing, spreadsheet-style editing, custom fields, advanced filtering, and more.
Features Available in Different Versions
Information:
Below is a list of features not included in the basic free version:
- Add product variations
- Add new product with advanced features
- Drag & drop columns
- Edit All - Like in spreadsheets
- Bulk editing
- Add and edit customized fields
- Full support
- Personalized columns
- Advanced filters
- New features as added
For more information about the features available in each version and upgrade options, visit the WhizManage website or contact support at support@whizmanage.com.